Photoshop�ϳ��L����(chu��ng)������L�i¹��Ӣ��(4)
����Դ�� Tutsplus.com�����x���� Jenny Le �o�҂�������(j��ng)���ʵ����£�Step 4
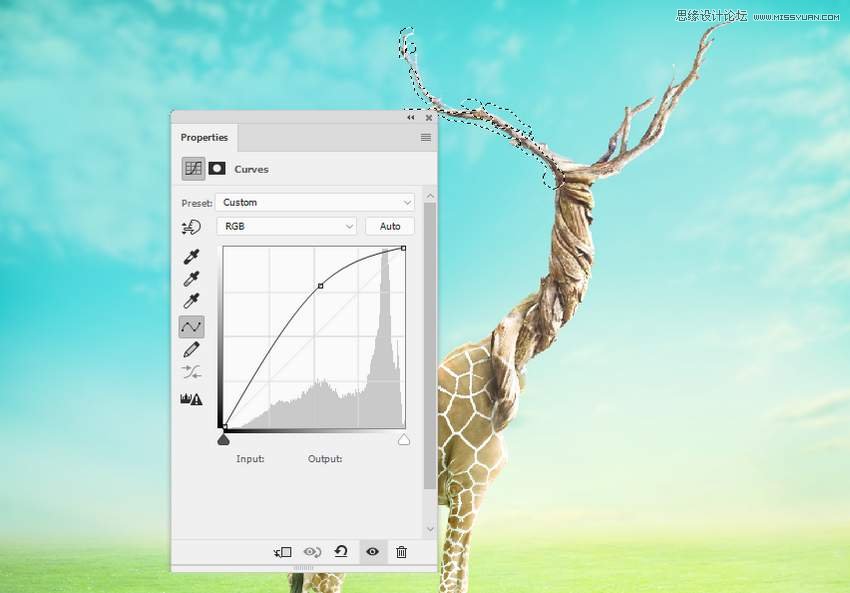
Create a Curves adjustment layer to bring more light to the branches. On the layer mask, paint on the shadow area or on the details which are bright enough.
5. How to Import the Birds
Step 1
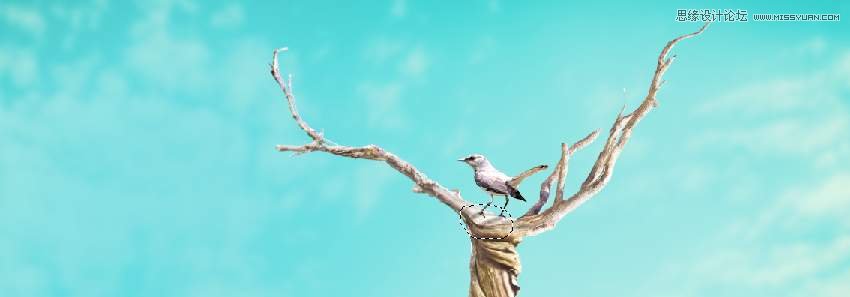
Cut out the bird 1 from the original image and place him onto the top of the tree neck, between the branches.

Step 2
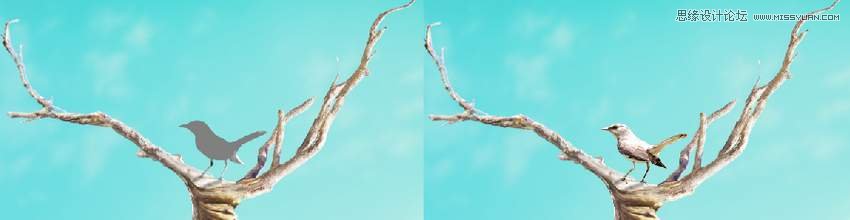
Create a new layer below the bird's one. Use a soft brush with the color #070101 and Opacity about 50% to paint the shadows of the bird's legs on top of the giraffe's head.
Step 3
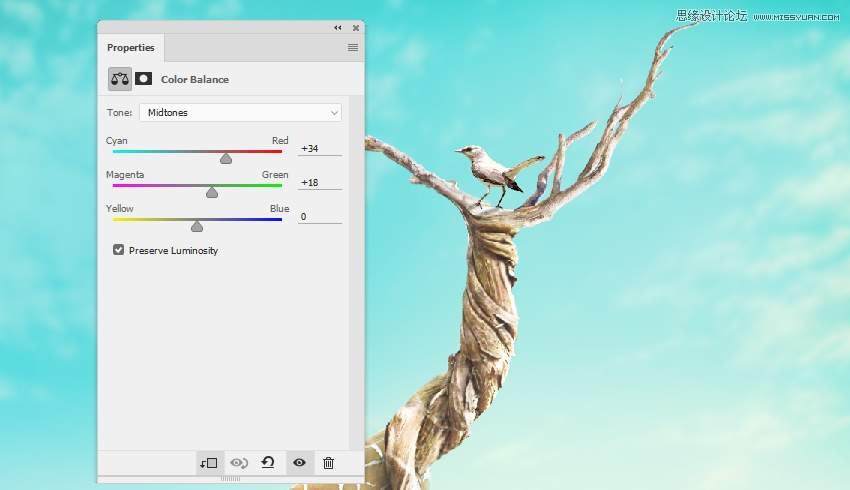
Use a Color Balance adjustment layer to match the bird's color with the rest of the scene. Alter the Midtones and Highlights settings.

Step 4
Use the Dodge and Burn Tool on a new layer to paint more light for the tail, the right leg, and shadow of the left leg of the bird.
Step 5
Make a Curves adjustment layer to reduce the highlight on the upper body of the bird. Paint on the lower body so it won't be affected by this adjustment layer.

Step 6
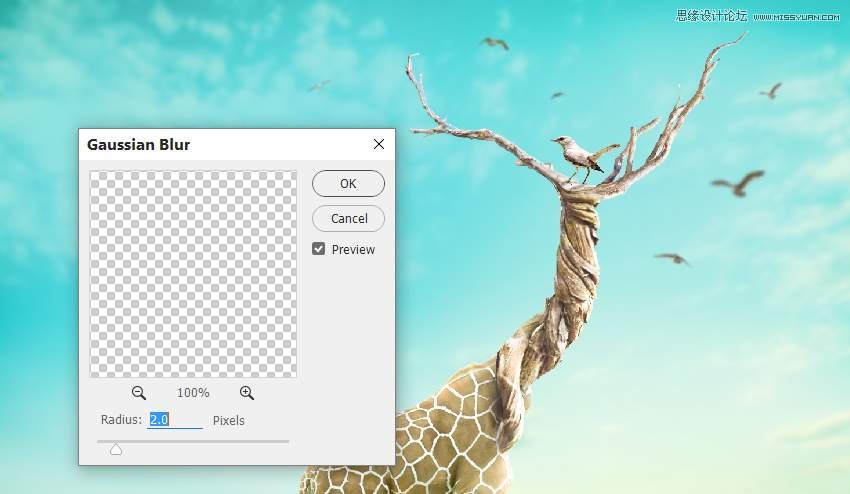
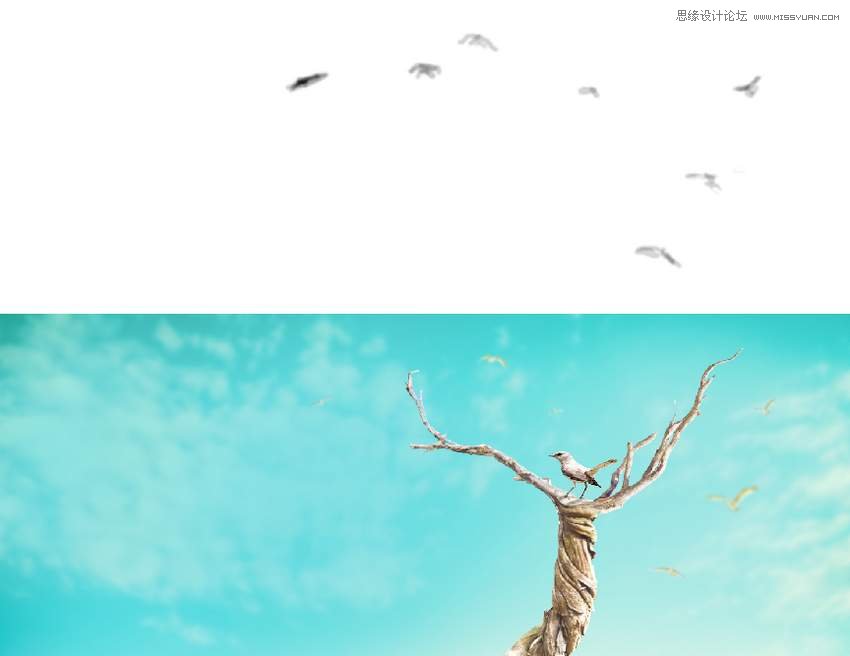
Open the birds 2 image and isolate the birds from the background. Take different birds to add to the top right of the canvas and apply a Gaussian Blur of 2 px to each of the bird layers.
Step 7
Use a Color Balance adjustment layer to change the birds' color a little.

Step 8
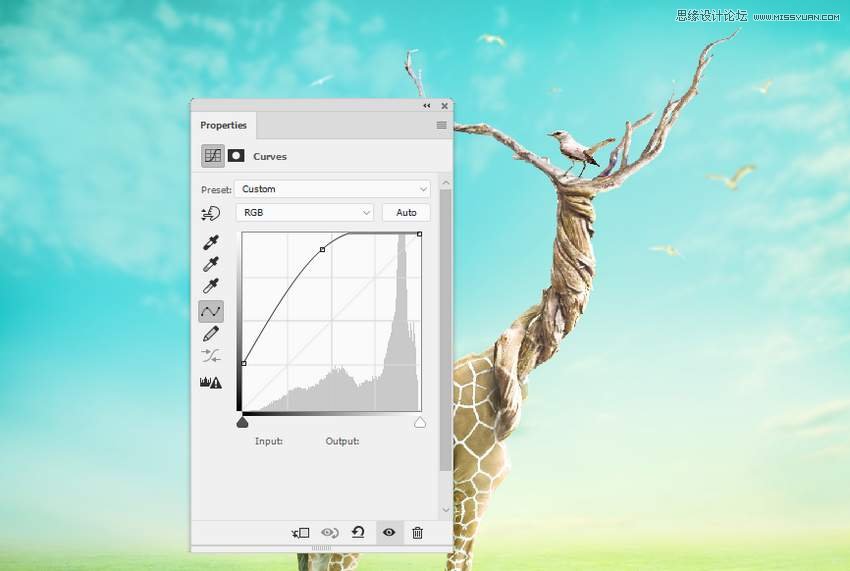
Create a Curves adjustment layer and increase the light for the birds.
6. How to Add the Leaves and Grass
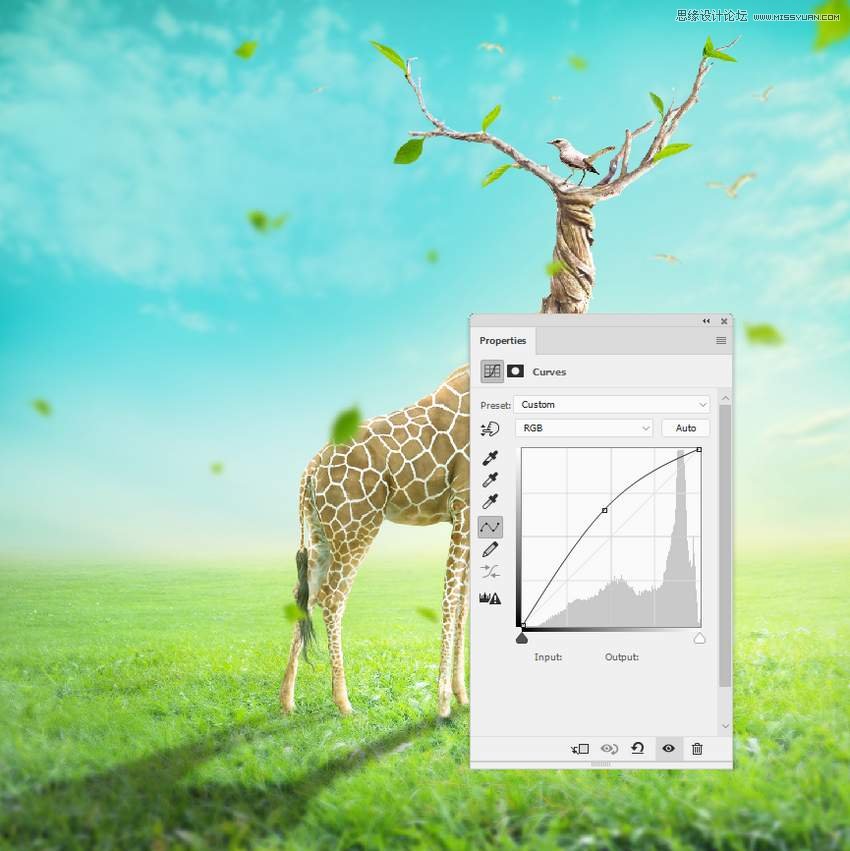
Step 1
Open the leaves image. Use the Lasso Tool to select different leaves to add to the two branches.

Step 2
Add more leaves around the scene, near the giraffe and edges of the canvas, scaling them to different sizes. Apply a Gaussian Blur filter of 3 px, 4 px, and 6 px to the leaf layers depending on the size, distance, and position of the leaves. It helps to increase the depth of field.

Step 3
Group all the leaf layers into a new folder and create a Curves adjustment layer to brighten the leaves. Paint on the hidden area of the leaves so they won't be too bright.

 ��ǵ���
-
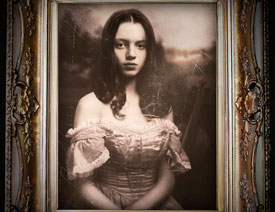 Photoshop������(f��)���L(f��ng)�������ƬЧ����Ӣ��2018-04-23
-
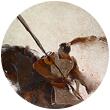
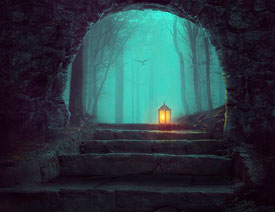
 Photoshop�ϳ��L����(chu��ng)������L�i¹��Ӣ��2018-04-23
-
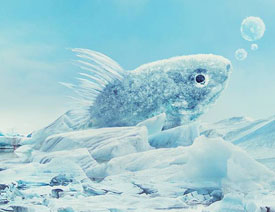 Photoshop�ϳɱ�����Ч�Ľ��~������Ӣ��2018-02-10
-
 Photoshop�ϳɉ����L(f��ng)���ɭ�ֈ�����Ӣ��2018-02-10
-
 Photoshop�ϳ�����ʩ��������Ӣ��2018-02-10
-
 Photoshop���������|(zh��)�е�3D���w�֡�Ӣ��2018-01-09
-
 Photoshop�O(sh��)Ӌ(j��)����ȼ��ˇ�g(sh��)�ֽ̡̳�Ӣ��2018-01-09
-
Photoshop������(f��)���L(f��ng)�������ƬЧ����Ӣ��
���P(gu��n)����11882018-04-23
-
Photoshop�ϳɱ�����Ч�Ľ��~������Ӣ��
���P(gu��n)����34052018-02-10
-
 Photoshop�����S���|(zh��)�����w�֡�Ӣ��
���P(gu��n)����7422018-02-10
Photoshop�����S���|(zh��)�����w�֡�Ӣ��
���P(gu��n)����7422018-02-10
-
 Photoshop�����@�G����3D���w��
���P(gu��n)����14682018-02-10
Photoshop�����@�G����3D���w��
���P(gu��n)����14682018-02-10
-
Photoshop�ϳɉ����L(f��ng)���ɭ�ֈ�����Ӣ��
���P(gu��n)����24492018-02-10
-
Photoshop�ϳ�����ʩ��������Ӣ��
���P(gu��n)����8372018-02-10
-
 Photoshop������(f��)���p���ع����w
���P(gu��n)����6532018-01-09
Photoshop������(f��)���p���ع����w
���P(gu��n)����6532018-01-09
-
 Photoshop����ľ�ذ�LOGO��ӡЧ����Ӣ��
���P(gu��n)����19272018-01-09
Photoshop����ľ�ذ�LOGO��ӡЧ����Ӣ��
���P(gu��n)����19272018-01-09
