Photoshop��������Ү�d��߹ⱳ����Ӣ��(4)
����Դ�� Tutsplus�����x���� Marko Kožokar �o�҂����������ʵ����£�Step 6
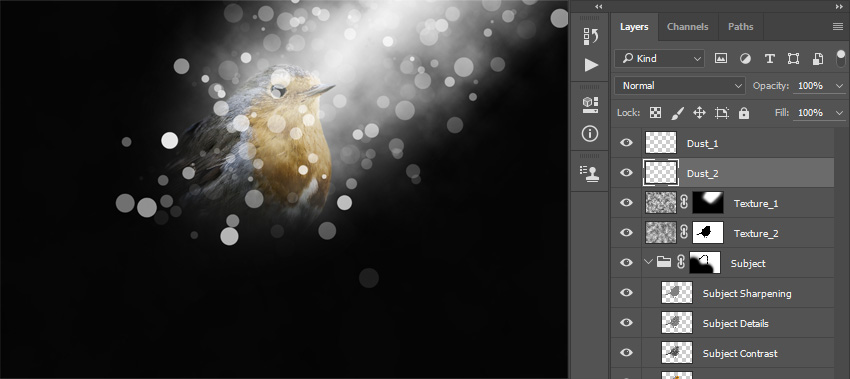
Choose the Brush Tool (B), and brush over the light source again. Use the same brush with the same settings as the previous time.
Step 7
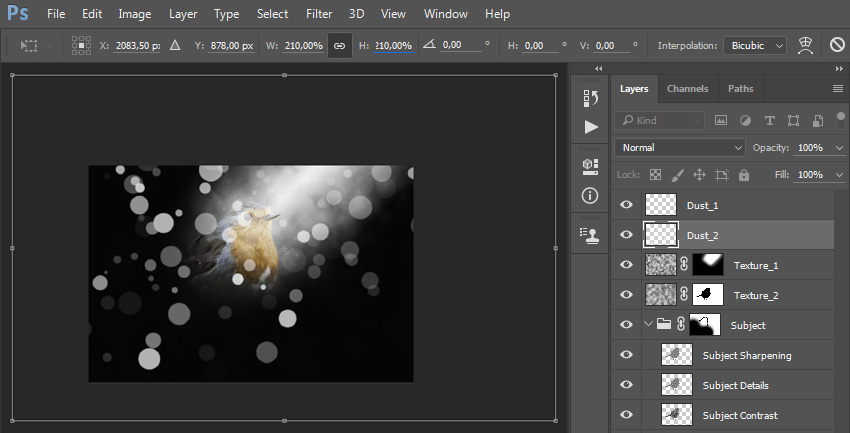
Now press Control-T on your keyboard and set the Width and Height of the layer to 210% as shown below:
Step 8
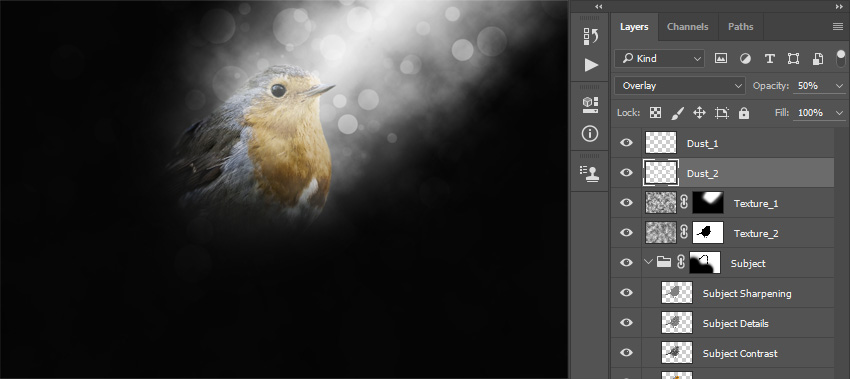
Change the Blending Mode to Overlay and set the Opacity to 50%. Then, using the Move Tool (V), click and drag anywhere inside the canvas to position the layer as you like.
Step 9
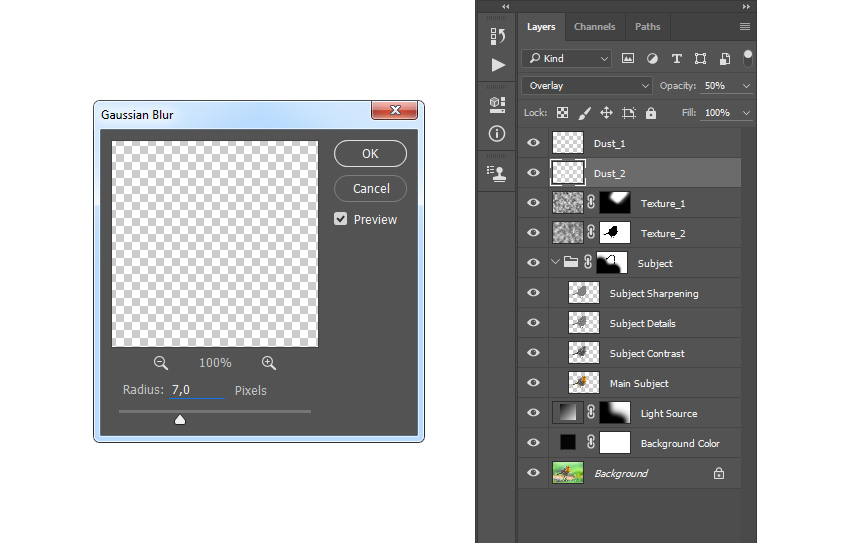
Now go to Filter > Blur > Gaussian Blur and set the Radius to 7 px as shown below:
Step 10
Select the Dust_1 layer, go to Layer > New > Layer to create a new layer, and name it Dust_3.

Step 11
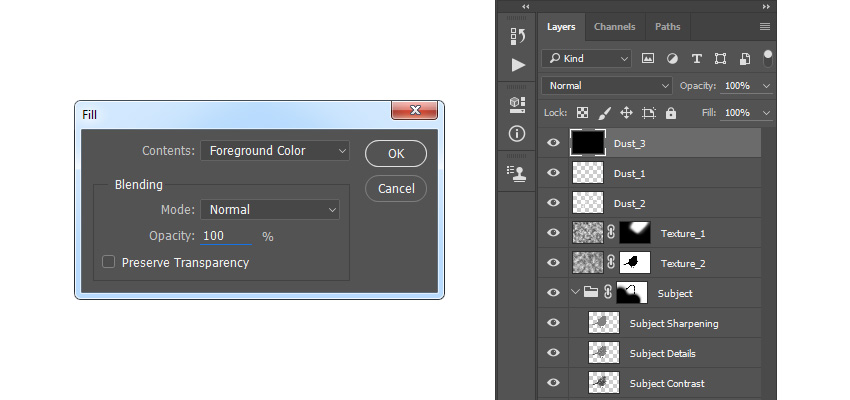
Now set the foreground color to #000000, go to Edit > Fill, and set the Contents to Foreground Color, Modeto Normal, and Opacity to 100% as shown below:
Step 12
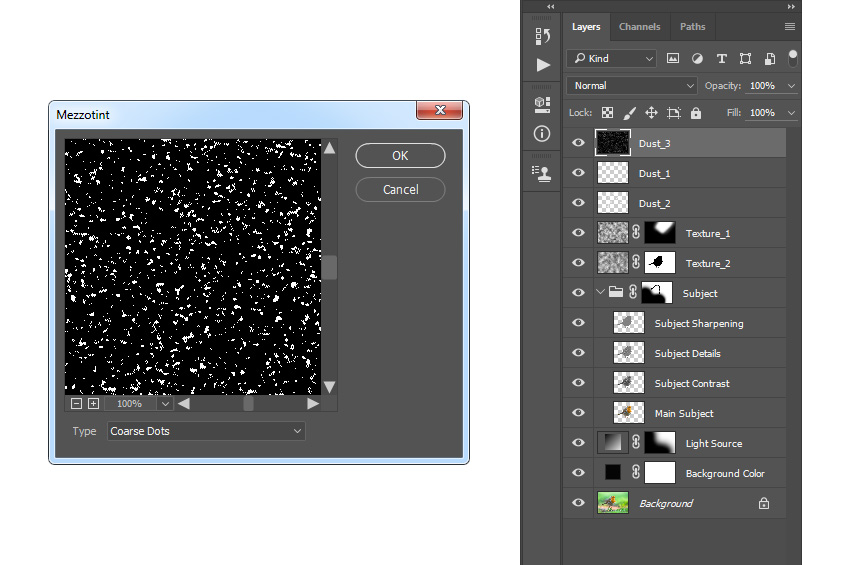
Go to Filter > Pixelate > Mezzotint and set the Type to Coarse Dots as shown below:
Step 13
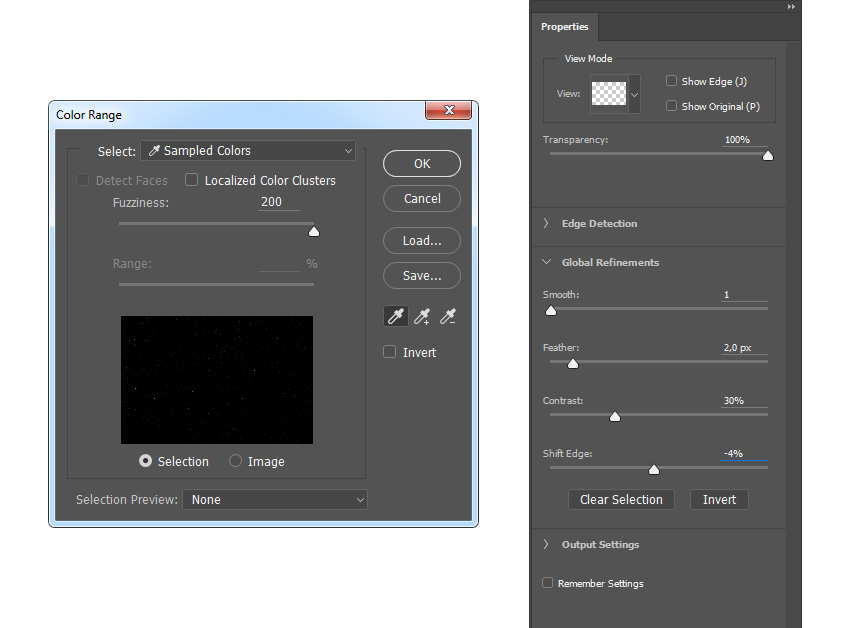
Now go to Select > Color Range. Using the Eyedropper Tool, select the white color by clicking on some of the white particles in your photo, and set the Fuzziness to 200. Then, go to Select > Select and Mask and use the settings below:
Step 14
Go to Layer > Layer Mask > Reveal Selection to add a layer mask that reveals the selected area of the layer. Then, Right-click on the layer mask of this layer and choose Apply Layer Mask. After that, press Control-T on your keyboard and set the Width and Height of the layer to 150% as shown below:

Step 15
Change the Opacity of this layer to 10% and drag this layer just below the Dust_2 layer in the Layers panel.

Step 16
Now select the Texture_1 layer, go to Layer > New > Layer to create a new layer, and name it Dust_4.

 ���㲻Ҫ��
-
 Photoshop�������L�������ƬЧ����Ӣ��2018-04-23
-
 Photoshop�ϳ��L����������L�i¹��Ӣ��2018-04-23
-
 Photoshop�ϳɱ�����Ч�Ľ��~������Ӣ��2018-02-10
-
 Photoshop�ϳɉ����L���ɭ�ֈ�����Ӣ��2018-02-10
-
 Photoshop�ϳ�����ʩ��������Ӣ��2018-02-10
-
 Photoshop���������|�е�3D���w�֡�Ӣ��2018-01-09
-
 Photoshop�OӋ����ȼ��ˇ�g�ֽ̡̳�Ӣ��2018-01-09
-
Photoshop�ϳɉ����L���ɭ�ֈ�����Ӣ��
���P����24492018-02-10
-
 Photoshop�����ǹ��b�ʥ�Q�䡾Ӣ��
���P����6472017-12-16
Photoshop�����ǹ��b�ʥ�Q�䡾Ӣ��
���P����6472017-12-16
