Photoshop�ϳ�����ʩ��������Ӣ��(3)
����Դ�� photoshoptutorials.ws�����x���� MARIA SEMELEVICH �o�҂����������ʵ����£�
Step 39
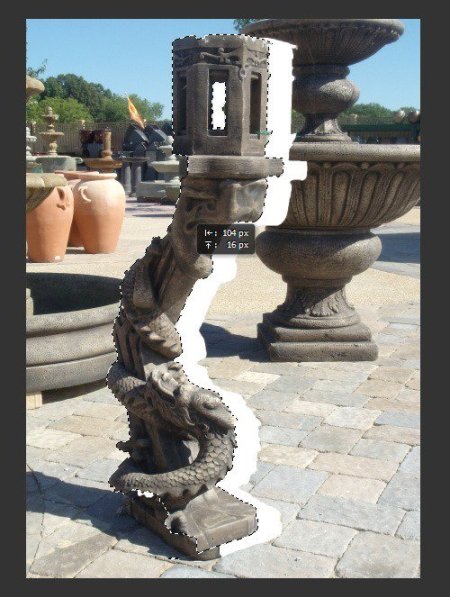
Now select the Move Tool (V). Move the cursor to our selection. He should change (scissors appear below). Grab the selection and pressing the button drag it into the document.
Step 40
Wow! So big for our picture! Well, nothing we now reduce it. Click the short key Ctrl+ T and reduce it to the desired size. Do not forget to clamp the Shift to proportional transform the object.
Step 41
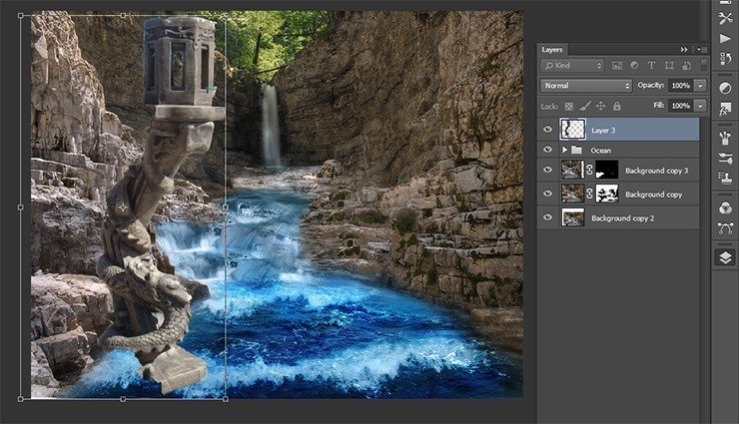
Now we need to duplicate the layer with the luminaire. Click the short key Ctrl+ J.
Step 42
Combine these two layers in the group. Select both layers by holding shift and pressing Ctrl+ G or drag the selected layers to the group icon and release them. Change the name of the group on “Statue”.
Step 43
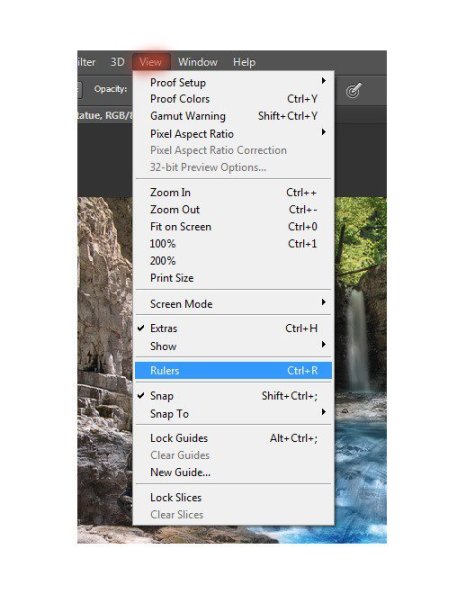
What would make a magical tint of our work we need to place lights strictly at the same height. Therefore, we need a ruler! Go View>Rulers, or press the short key Ctrl+ R. This command shows the ruler, and removes them
.
Step 44
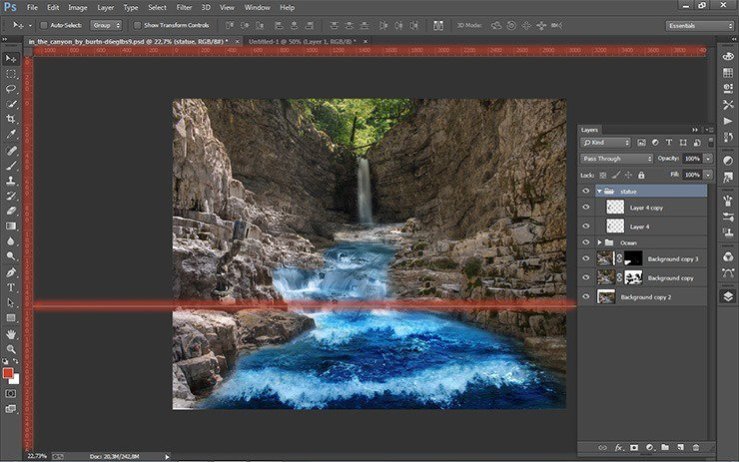
When the ruler appeared, select the Move tool (V). Move to the top line, hold RMB, and drag to 1/3 from the bottom of the figure. Appear thin turquoise guide. You can always remove it.
Step 45
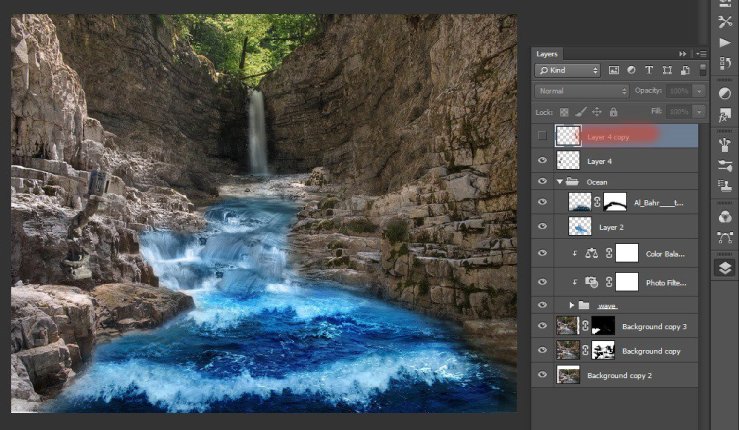
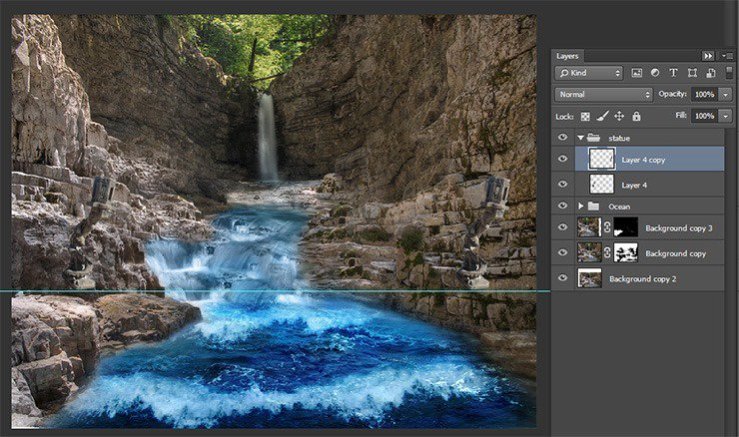
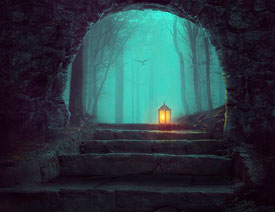
When exposed rail in position, go to our lamps. Move Tool, drag the lamp on the stone wall so that the bottom rail touched. To move exactly along rail the light clamp Shift.
Step 46
Now for the second lamp. Transform the second lamp. Click the short key Ctrl+ T. Then press the RMB and the drop-down list, select “Flip Horizontal”.

Step 47
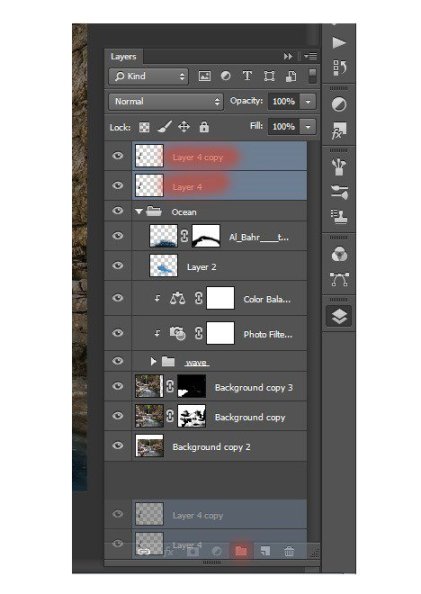
Let’s remove the stand from under the lamps. Each layer add a layer mask and with the brush remove holders.
Step 48
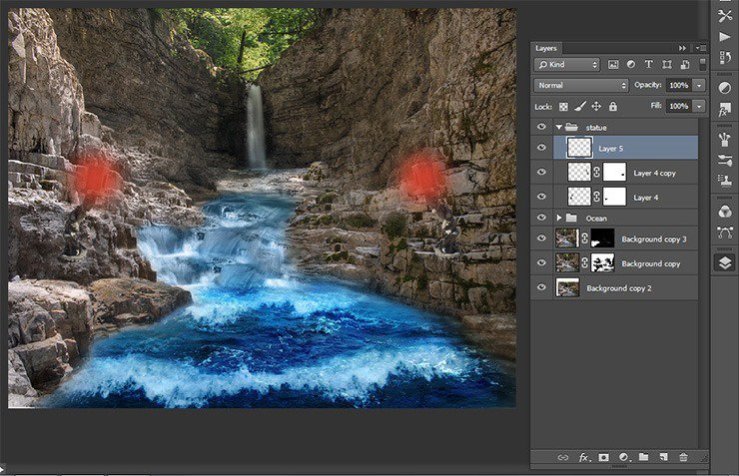
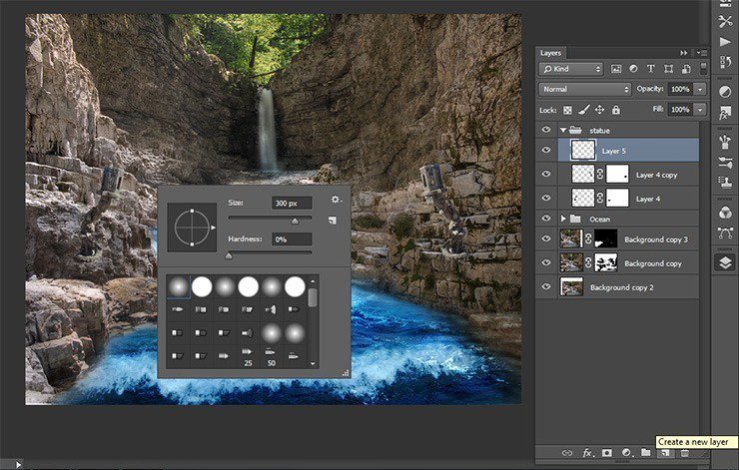
Our lamp ready. Now start adding them fire! Create a new layer. Select the Brush Tool (B) and set settings: Size: 300px, Hardness: 0% Opacity: 60%, Flow: 100%.
Step 49
Now set the color # d73d28 and put the dot several times in the same place on both spot lamps.

Step 51
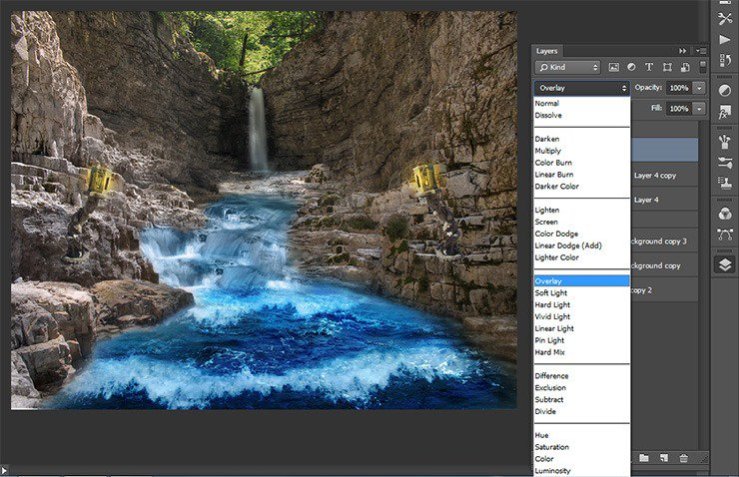
Change the blending mode to Overlay in the Layers palette.
Step 52
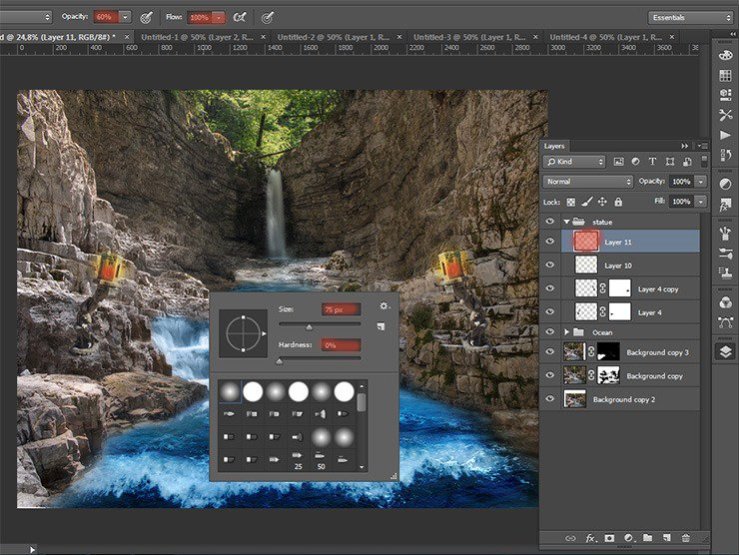
Now add the source of the fire in the lamp. Create a new layer and select Brush Tool. Set settings: Size: 300px, Hardness: 0% Opacity: 60%, Flow: 100%. Set the color # d73d28 and put the dot several times in the same place on both spot lamps as shown in Figure.
Step 53
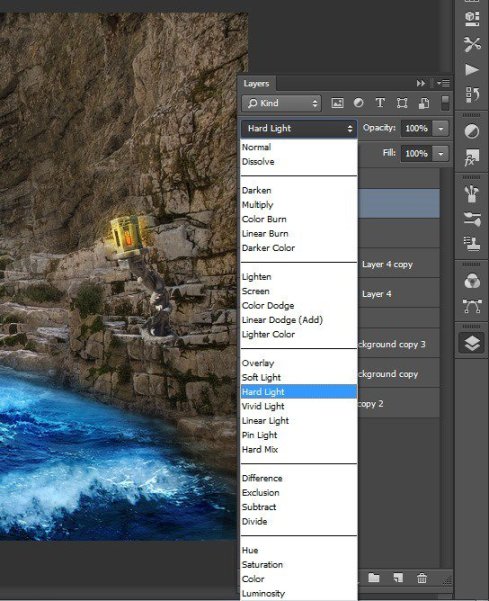
Change the blending mode to Hard Light in the Layers palette.
Step 54
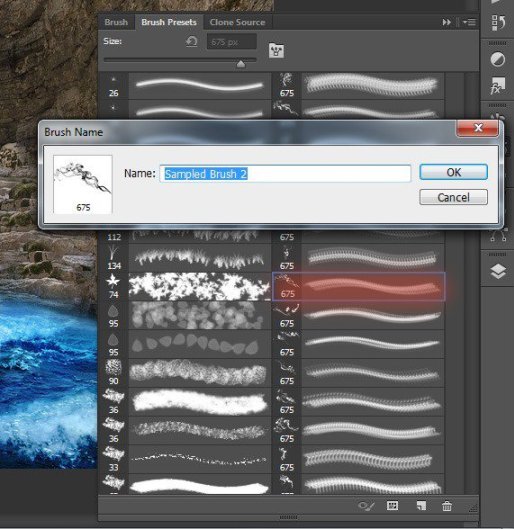
Effect of light and burning we have created. It remains to add smoke. For realism, we will use ready brushes (Source for download at the beginning of the article). Begin to add to our library of smoke brushes. To do this, click on the tab Brush Presets. Top of this window there is a small button (shown) of additional features. Click on it.
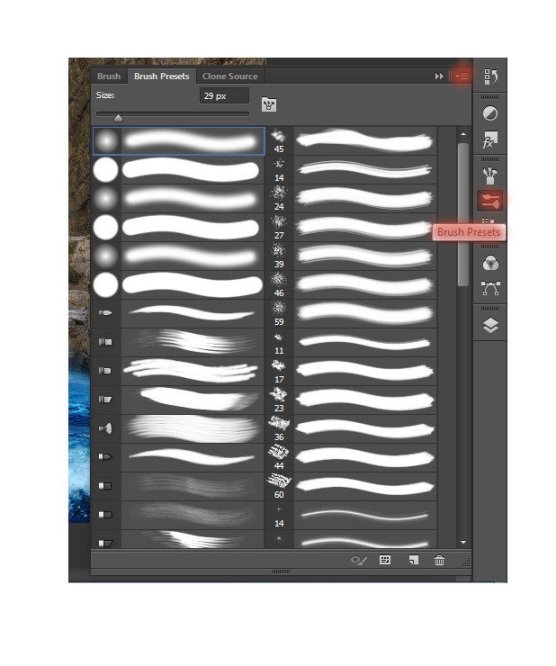
In the drop-down menu, select load brushes and specify the path where they are on your computer.

 ��ǵ���
-
 Photoshop�������L�������ƬЧ����Ӣ��2018-04-23
-
 Photoshop�ϳ��L����������L�i¹��Ӣ��2018-04-23
-
 Photoshop�ϳɱ�����Ч�Ľ��~������Ӣ��2018-02-10
-
 Photoshop�ϳɉ����L���ɭ�ֈ�����Ӣ��2018-02-10
-
 Photoshop�ϳ�����ʩ��������Ӣ��2018-02-10
-
 Photoshop���������|�е�3D���w�֡�Ӣ��2018-01-09
-
 Photoshop�OӋ����ȼ��ˇ�g�ֽ̡̳�Ӣ��2018-01-09
-
Photoshop�������L�������ƬЧ����Ӣ��
���P����11882018-04-23
-
Photoshop�ϳ��L����������L�i¹��Ӣ��
���P����13832018-04-23
-
Photoshop�ϳɱ�����Ч�Ľ��~������Ӣ��
���P����34052018-02-10
-
 Photoshop�����S���|�����w�֡�Ӣ��
���P����7422018-02-10
Photoshop�����S���|�����w�֡�Ӣ��
���P����7422018-02-10
-
 Photoshop�����@�G����3D���w��
���P����14682018-02-10
Photoshop�����@�G����3D���w��
���P����14682018-02-10
-
Photoshop�ϳɉ����L���ɭ�ֈ�����Ӣ��
���P����24492018-02-10
-
 Photoshop�������p���ع����w
���P����6532018-01-09
Photoshop�������p���ع����w
���P����6532018-01-09
-
 Photoshop����ľ�ذ�LOGO��ӡЧ����Ӣ��
���P����19272018-01-09
Photoshop����ľ�ذ�LOGO��ӡЧ����Ӣ��
���P����19272018-01-09
