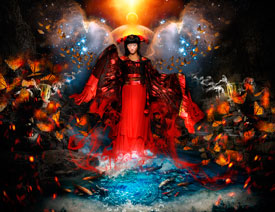
Photoshop�ϳ�����ʩ��������Ӣ��(6)
����Դ�� photoshoptutorials.ws�����x���� MARIA SEMELEVICH �o�҂����������ʵ����£�Step 96
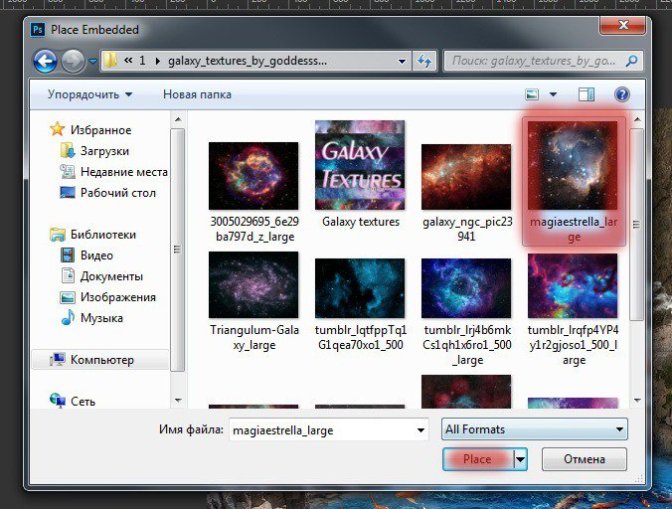
The next step I did the wings of galaxies. I saw an amazing thing that the shape of the galaxy resembles wings and decided that it would be watered in addition to picture Go to File> Place and select file with galaxies.

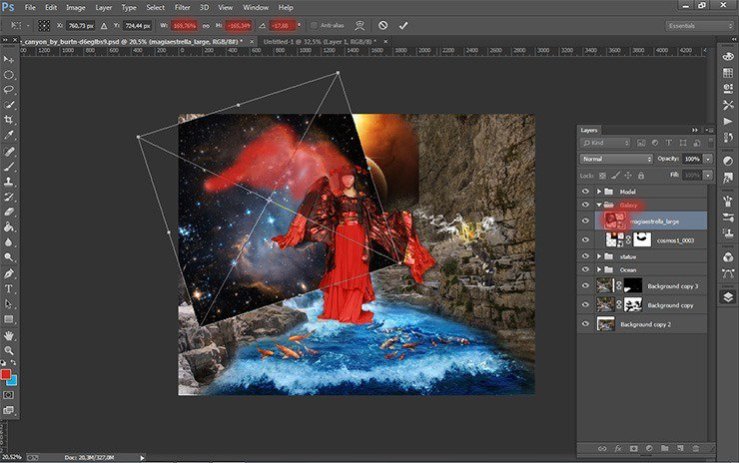
Step 97
Transform the galaxies (the short key Ctrl+ T). Increase their size by pulling the cubes on the edges of the selection. Tilt them slightly (-17, 88).
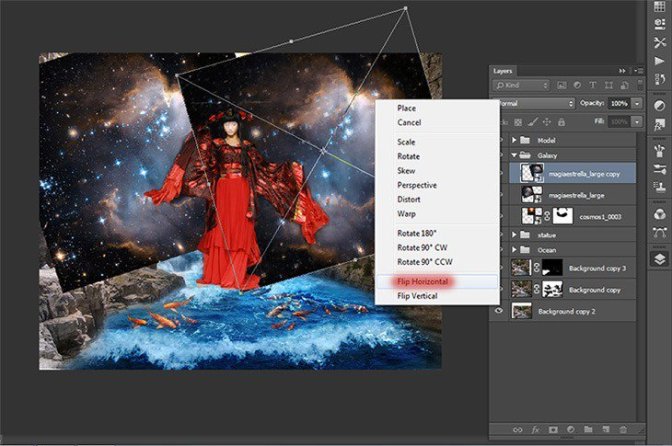
Step 98
Duplicate this layer. Transform it. Press the short key Ctrl+ T. Click RMB on the document, in the drop-down list, select Flip Horizontal. Move this layer slightly to the right to get a symmetrical.
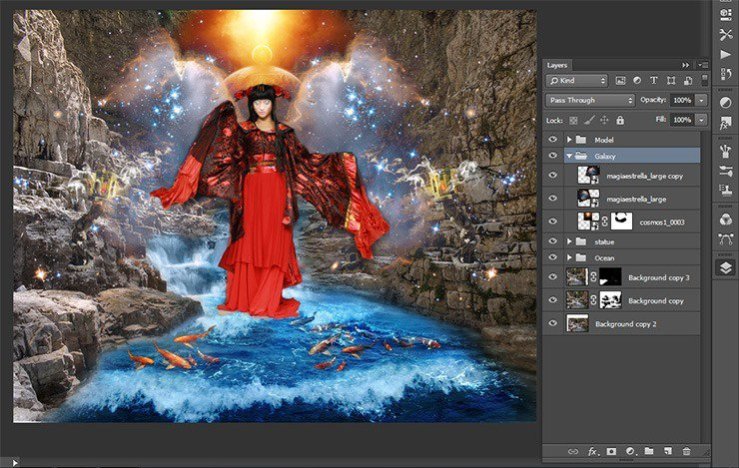
Step 99
Now change the blending mode of both layers with galaxies. In the Layers palette. Click on the “normal” and from the drop down list, select “Lighten”.

Step 100
Here so I got.
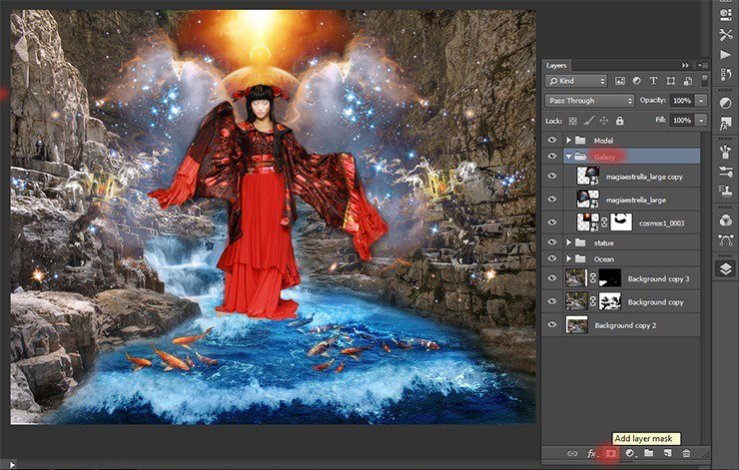
Step 101
Next, remove the unnecessary part of the galaxy and stars. Add a mask to the group “Galaxy”.
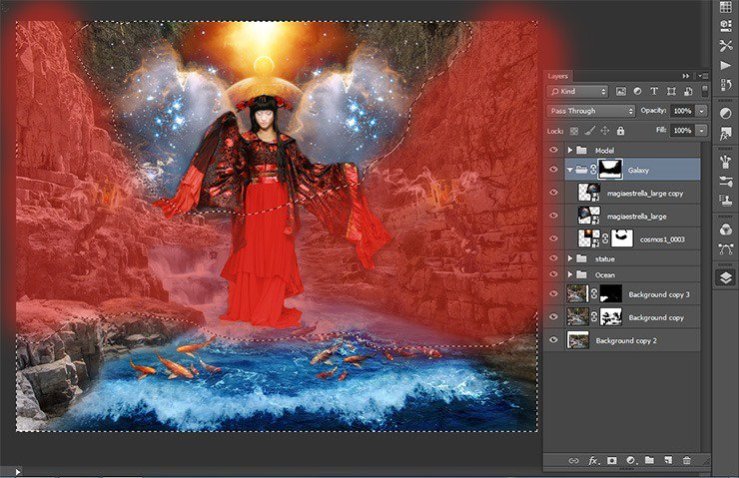
Step 102
Remove some of the stars using a Brush Tool (B) Size: 230px, Hardness: 0% Opacity: 100% Flow: 100%. Do not forget to set black color as your foreground color.
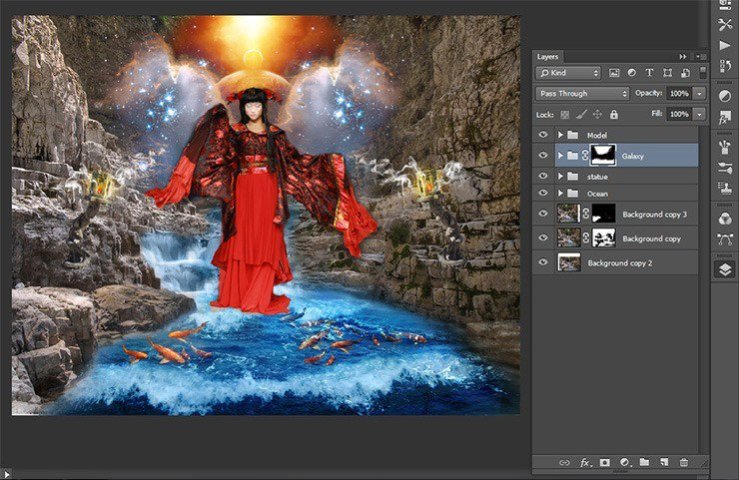
Step 103
Here is my result.
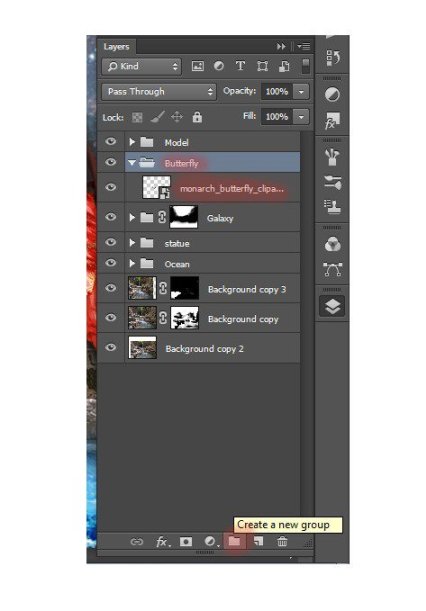
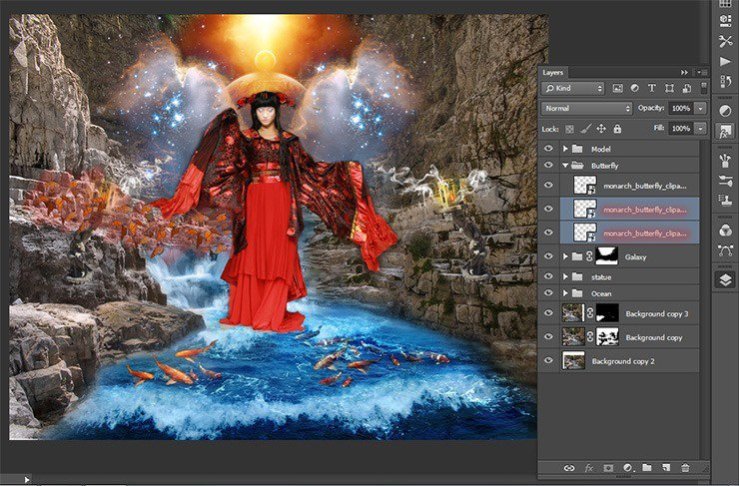
Step 104
The picture was lighter and more mysterious; I added space and fiery flying butterflies. Get down! Go to File > Place and add photo with butterflies. Reduce their size.

Step 105
Create a new group and name it “butterflies”. This group will be sorted butterfly on the right and left. Then color. In this group will fire.
Step 106
I will begin with fiery butterflies on the left side. Transform the butterflies to the desired size. Near dresses butterfly should be small. Tilt them a bit to give the direction of flight.
Step 107
Duplicate the layer with butterflies 2 times. Using Move Tool butterflies to move to the desired position.
Step 108
Transform (the short key Ctrl+ T) each layer, making more and more butterflies.
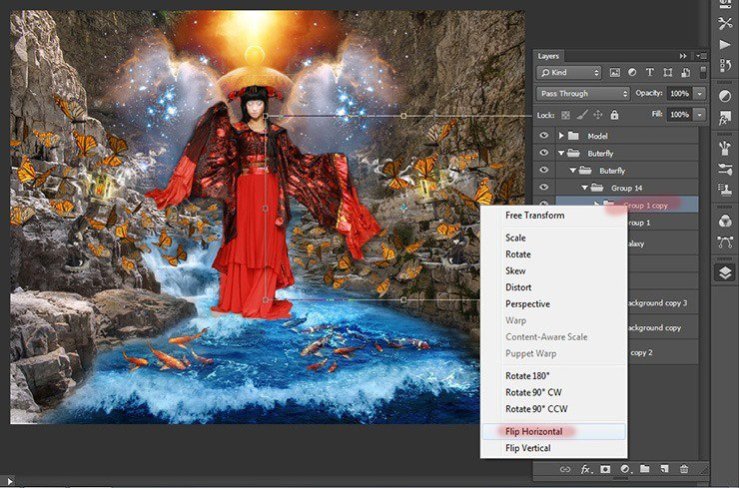
Step 109
Now duplicate group. Transform it (the short key Ctrl+ T). Click RMB on the document, in the drop-down list, select Flip Horizontal.
Step 110
Now go to the duplicated group. Move some layers to make it distinct from the left group.

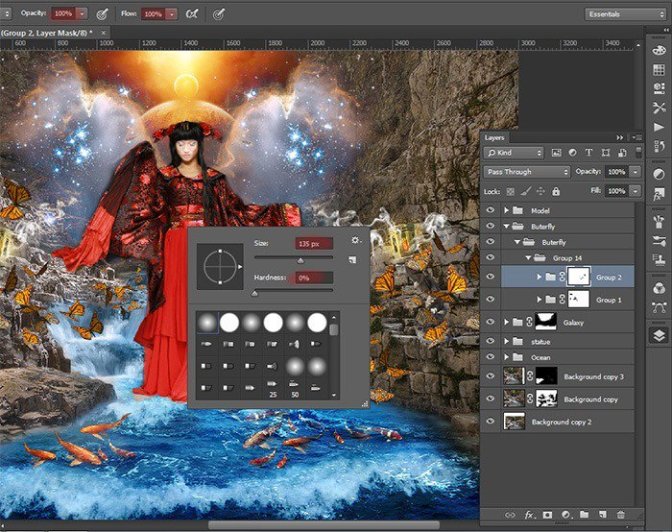
Step 111
Now add a mask to each group, and then take Brush Tool (B). Set these settings: Size: 135px, Hardness: 0% Opacity: 100% Flow: 100%. Remove some butterflies that there was a strong crowding.
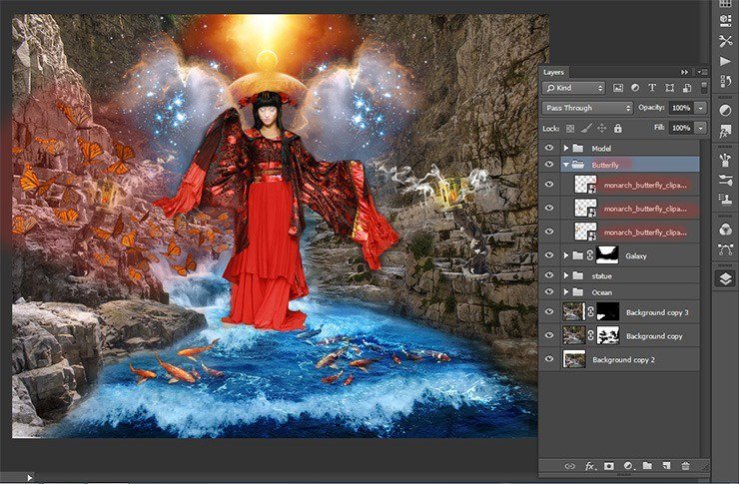
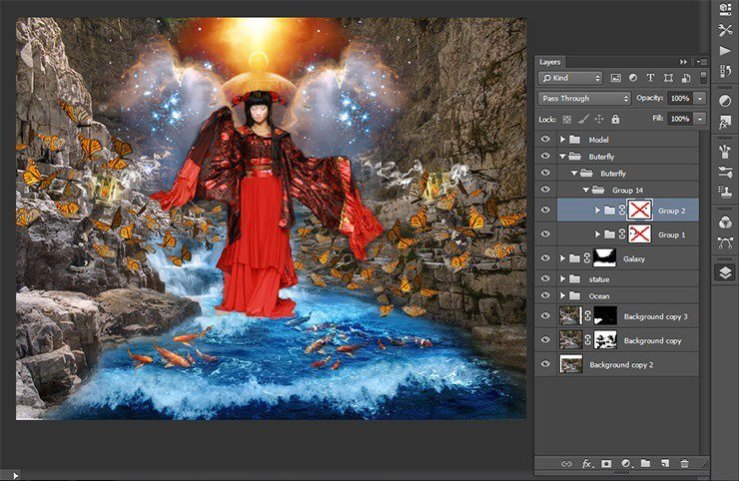
Step 112
The first figure shows the reconciliation to the mask, the second after the application of the mask.

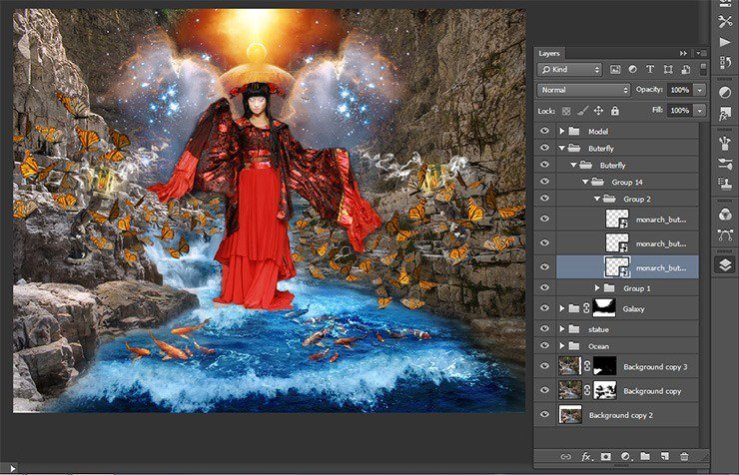
Step 113
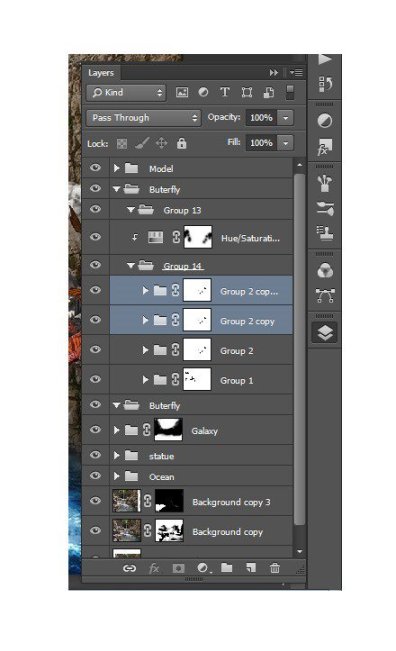
Now combine the two groups into one (the short key Ctrl+ G).
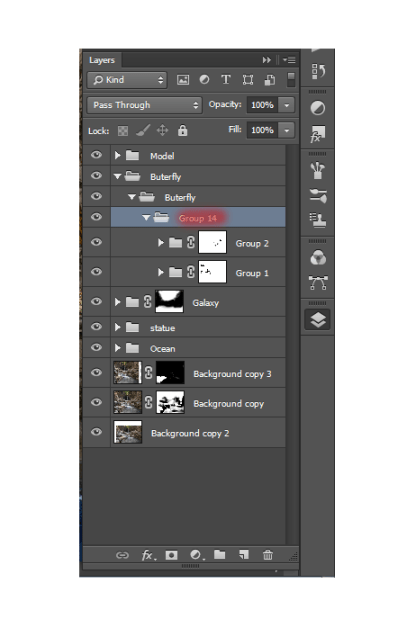
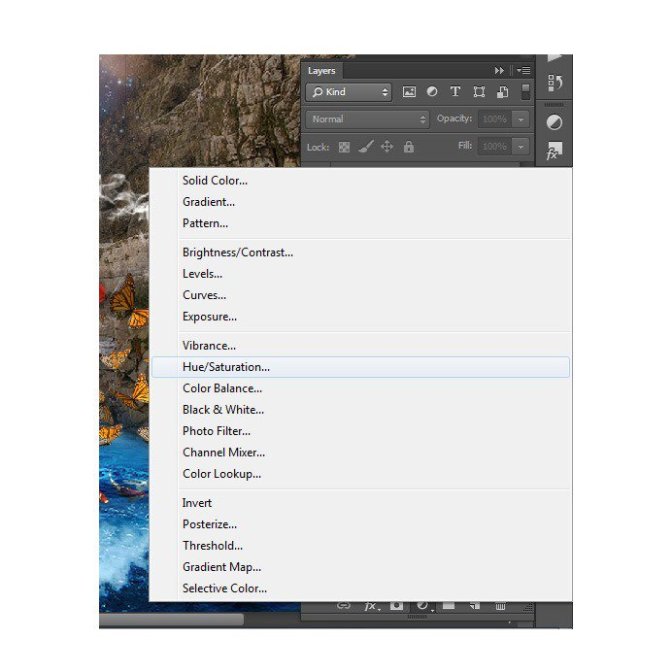
Step 114
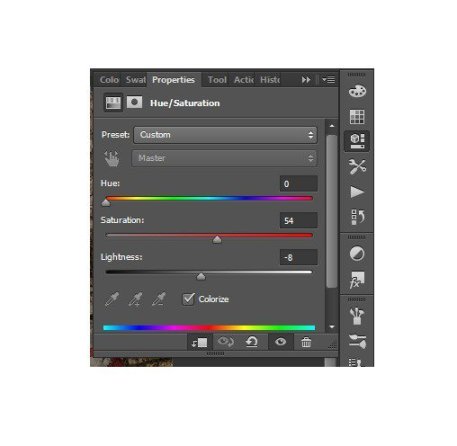
Add to a group adjustment layer Hue/Saturation…
Set the settings as shown in the figure.
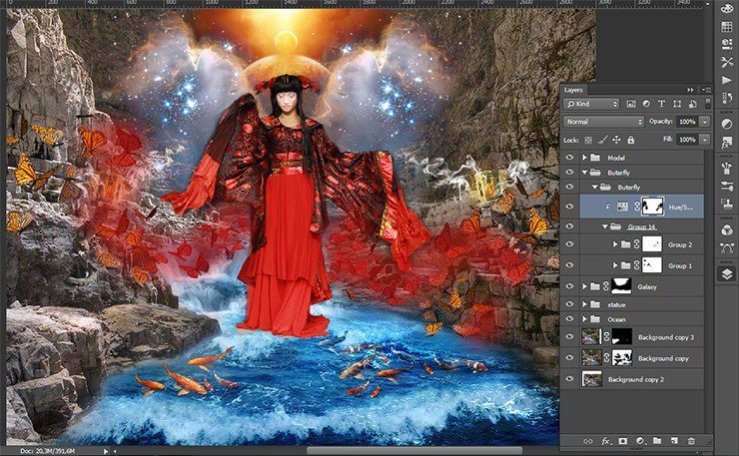
Step 115
Take Brush Tool (B). Set these settings: Size: 135px, Hardness: 0% Opacity: 50% – 100%, Flow: 100%. Change the opacity of the brush to achieve a smooth transition between colors.On the layer mask, I cleaned the front with red butterflies. Red allocations where adjustment layer should remain.
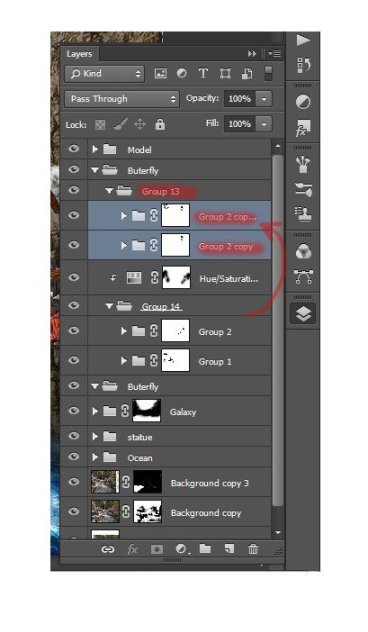
Step 116
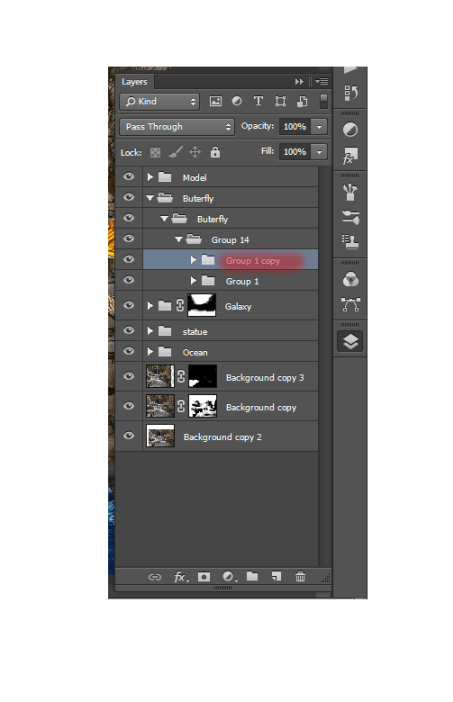
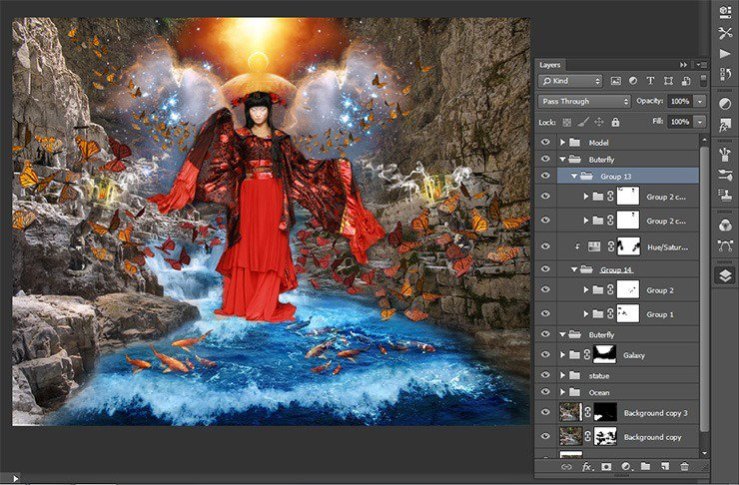
We proceed to the cosmic butterflies. Duplicate 2 times group with leftist butterflies “Group 14” and move it above the adjustment layer.
Step 117
Transform this layer the short key Ctrl+ T. Make small butterflies.

Step 118
In-group “Group 2 copy” duplicate the very first layer. Butterflies move it to obtain an extension of butterflies.

Step 119
In the same way Change the left butterflies.
 ��ǵ���
-
 Photoshop�������L�������ƬЧ����Ӣ��2018-04-23
-
 Photoshop�ϳ��L����������L�i¹��Ӣ��2018-04-23
-
 Photoshop�ϳɱ�����Ч�Ľ��~������Ӣ��2018-02-10
-
 Photoshop�ϳɉ����L���ɭ�ֈ�����Ӣ��2018-02-10
-
 Photoshop�ϳ�����ʩ��������Ӣ��2018-02-10
-
 Photoshop���������|�е�3D���w�֡�Ӣ��2018-01-09
-
 Photoshop�OӋ����ȼ��ˇ�g�ֽ̡̳�Ӣ��2018-01-09
-
Photoshop�������L�������ƬЧ����Ӣ��
���P����11882018-04-23
-
Photoshop�ϳ��L����������L�i¹��Ӣ��
���P����13832018-04-23
-
Photoshop�ϳɱ�����Ч�Ľ��~������Ӣ��
���P����34052018-02-10
-
 Photoshop�����S���|�����w�֡�Ӣ��
���P����7422018-02-10
Photoshop�����S���|�����w�֡�Ӣ��
���P����7422018-02-10
-
 Photoshop�����@�G����3D���w��
���P����14682018-02-10
Photoshop�����@�G����3D���w��
���P����14682018-02-10
-
Photoshop�ϳɉ����L���ɭ�ֈ�����Ӣ��
���P����24492018-02-10
-
 Photoshop�������p���ع����w
���P����6532018-01-09
Photoshop�������p���ع����w
���P����6532018-01-09
-
 Photoshop����ľ�ذ�LOGO��ӡЧ����Ӣ��
���P����19272018-01-09
Photoshop����ľ�ذ�LOGO��ӡЧ����Ӣ��
���P����19272018-01-09
